Digital Passport Photo Tips for Hassle-Free Applications
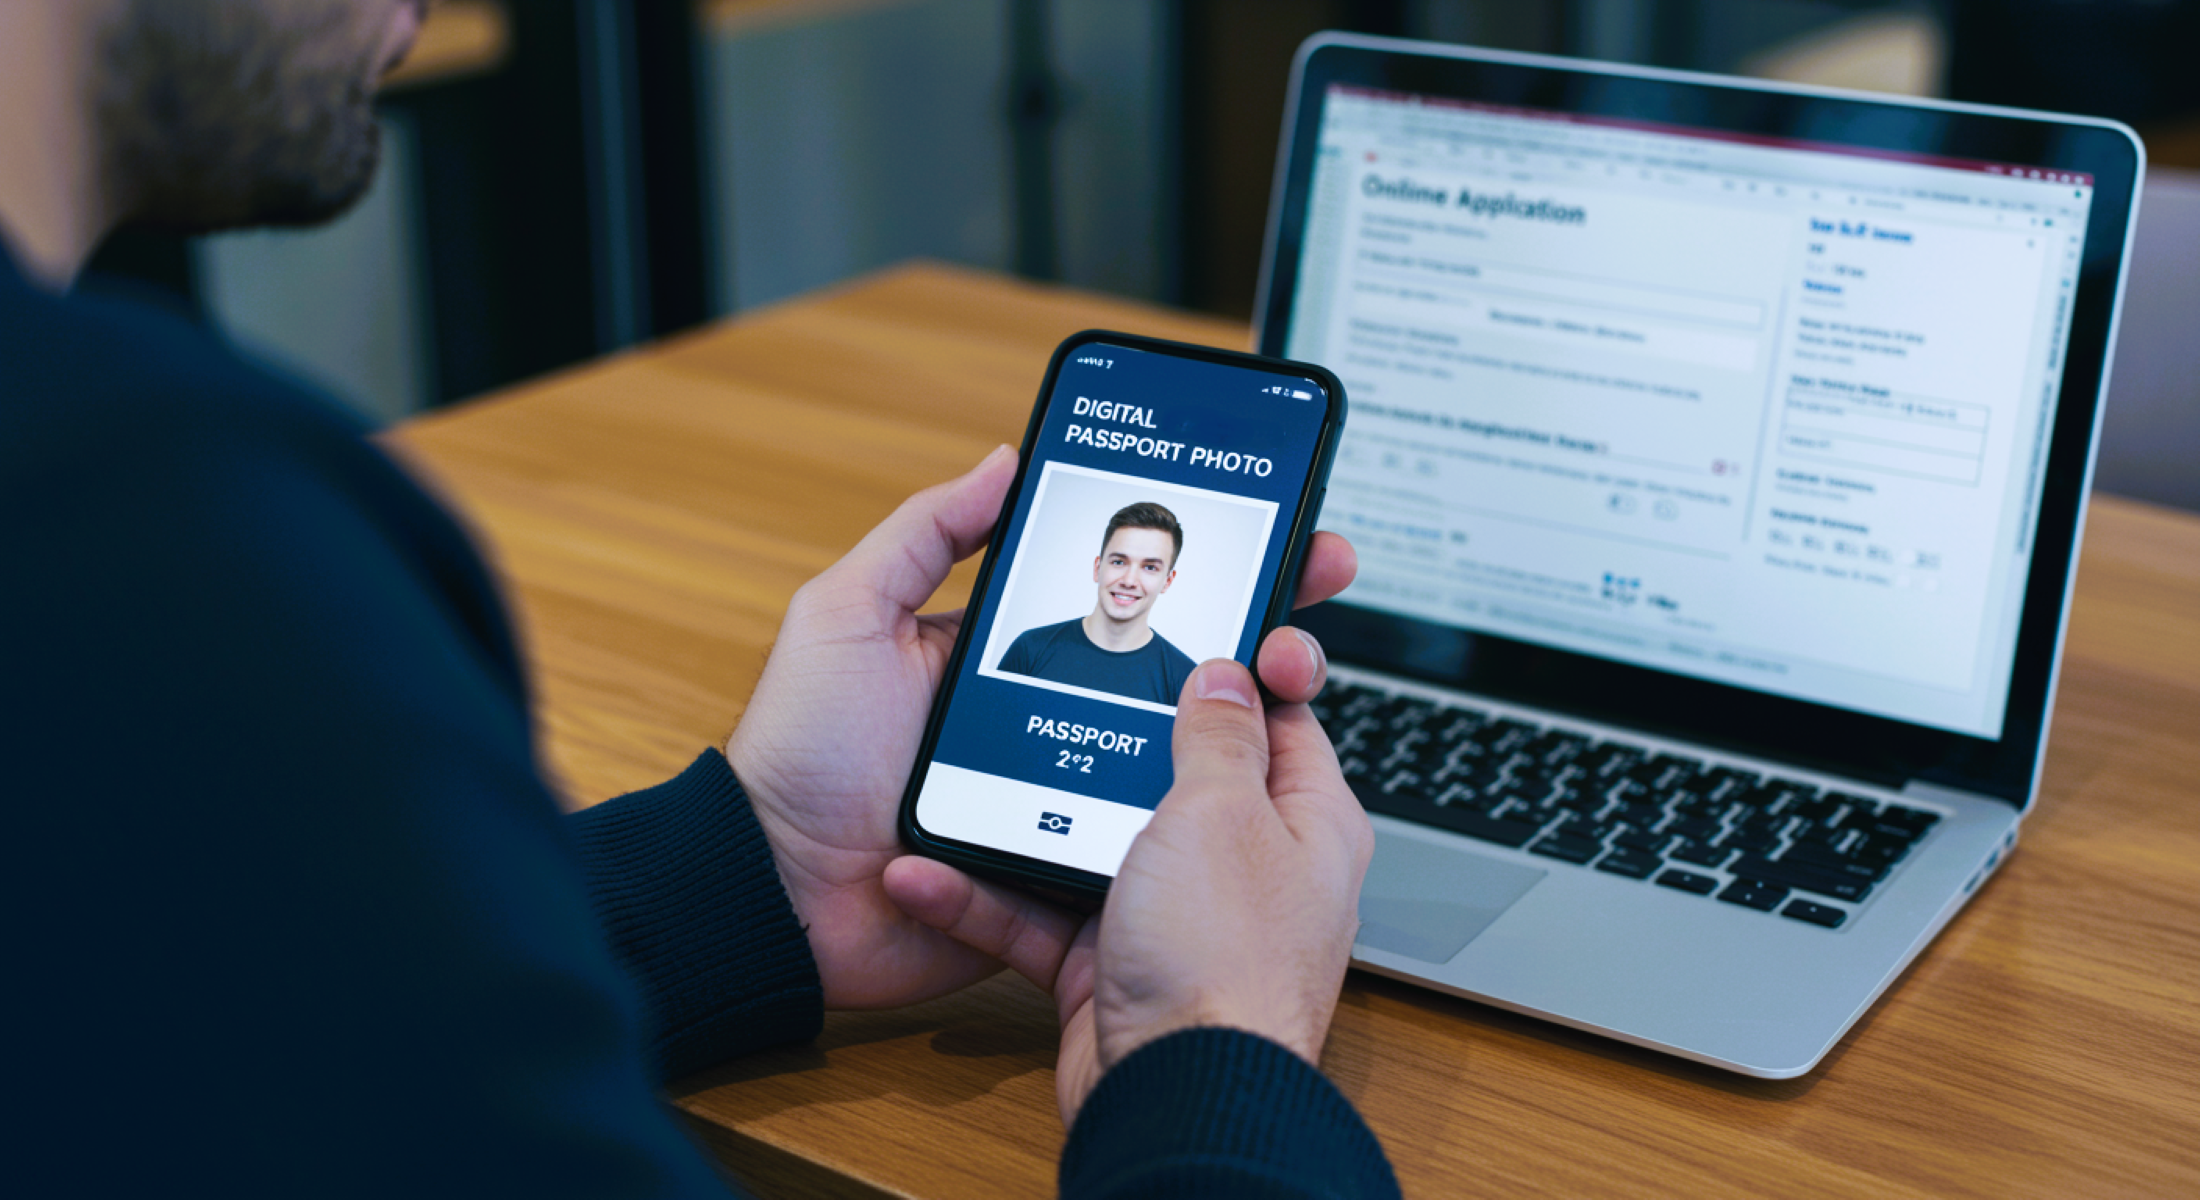
When it comes to applying for a passport, one of the most important yet often overlooked aspects is the digital passport photo. It may seem simple at first, but getting your digital passport photo just right can save you time and frustration. A blurry or improperly formatted digital passport photo can delay your passport application or even lead to rejection. Don’t worry though! Here are some essential tips to make sure your digital passport photo is perfect for a smooth and hassle-free application process.
Understanding Passport Photo Requirements
Before we dive into the tips, it’s crucial to understand the general passport photo requirements. These can vary slightly depending on the country you’re applying in, but there are several universal standards that apply across most places. Getting your passport photo right is essential for ensuring a smooth application process and avoiding unnecessary delays.
One of the most critical aspects of your passport photo is its size and dimensions. Typically, the photo must be 2×2 inches (51×51 mm), but it’s important to pay attention to how your head is positioned in the frame. The head should be centered, and the height from the bottom of the chin to the top of the head should be between 1 inch and 1 3/8 inches (25-35 mm). This ensures that your face is clearly visible, and the photo is properly aligned according to official standards. Taking this into account will help avoid any issues when submitting your application.
The background of your passport photo also plays a significant role. It should be plain white or light-colored, with no patterns, shadows, or distractions. The goal is to have a simple backdrop that doesn’t take attention away from your face. It’s important that there are no objects, people, or unusual features in the background, as these can make your photo non-compliant with the required standards. A clean, unobtrusive background allows your face to be the focal point and ensures the photo meets the technical requirements.
When it comes to your expression, it’s important to maintain a neutral look. Smiling or frowning can lead to your photo being rejected, as passport authorities require a straightforward, neutral expression. You should look directly at the camera with your mouth closed. The goal is to present an accurate, clear representation of yourself for identification purposes, which is why avoiding exaggerated expressions is essential.
Use a Plain, Light Background
- The background of your digital passport photo is incredibly important. It should be free of distractions, ensuring the focus remains on you.
- Opt for a white or light-colored This could be a plain wall, a white sheet, or a neutral-colored poster board.
- Avoid clutter, textures, or any items in the background that could distract from the subject (you!).
- No shadows should be cast on the background or your face. Shadows can cause the photo to be rejected.
- Think of the background as a frame that supports the main subject—your face. A messy or dark background makes it harder to identify you clearly.
- Steer clear of backgrounds that feature landscapes, busy designs, or vibrant colors. While they may look nice, they don’t meet passport photo requirements.
- For the best results, ensure the background is uniform and clean. This helps create a sharp, professional photo.
- Example: Standing in front of a scenic cityscape might seem attractive, but your photo would be rejected. Stick to something simple and bright for your passport photo.
Lighting Is Everything
| Tip | What to Do | What to Avoid | Best Lighting Source | Why It Matters |
| Natural Light | Face a window with plenty of natural light. | Avoid standing under harsh, overhead artificial lights. | Daytime sunlight from a window. | Natural light provides even, flattering illumination. |
| Soft, Even Lighting | Use diffusers or softbox lights to spread light evenly. | Avoid direct lighting like flashlights or spotlights. | Soft, indirect light. | Ensures there are no shadows or glare on your face. |
| No Shadows | Position yourself so the light falls on your face evenly. | Do not allow shadows to fall on your face or the background. | Diffused light or light from a window. | Shadows can distort your facial features and lead to rejection. |
| Avoid Reflections | Make sure the light doesn’t create reflections on your face. | Avoid shiny surfaces that can cause glare. | Soft, diffuse lighting. | Glare or reflections can obscure your face and lead to an incorrect image. |
| Time of Day | Take your photo during daylight when possible. | Don’t rely on artificial lighting after dark. | Morning or afternoon sunlight. | Daylight provides the most natural, clear illumination. |
Frame Your Face Properly
This might sound obvious, but the way your face is positioned and framed in the photo is incredibly important. The goal is to ensure a clear, centered view of your face without any obstruction. The way your head is placed, the position of your eyes, and the overall alignment all contribute to how well your photo will meet passport requirements.
One of the key points to remember is to position your head properly. Your head should be upright, and it must be fully visible in the frame. Make sure you are facing the camera directly. This is crucial because tilting or turning your head even slightly can cause your photo to be rejected. A straight, neutral position is always best.
In addition to the head positioning, it’s essential that your eyes are open and clearly visible. When taking your passport photo, make sure your eyes are wide open and there’s no squinting. Closed or squinting eyes can lead to rejection, as the authorities need to see your face clearly. Any obstruction, like having your eyes closed, could make it difficult to verify your identity from the photo.
Lastly, make sure that your face is not obstructed by hair, glasses, or any other item. It’s best to keep your hair neatly pulled back if it tends to cover parts of your face. If you wear glasses, ensure they don’t cause reflections, and the frame doesn’t obscure your eyes. All of these small details play a role in making sure your digital passport photo is accepted without any issues.
Keep Your Expression Neutral
- Your expression should be relaxed and natural.
- Avoid smiling, frowning, or raising your eyebrows.
- A neutral expression is required for most passport photo guidelines.
- Keep your mouth closed at all times.
- Think of it as your “resting face,” but with your eyes looking directly at the camera.
- Do not pose or try to create a facial expression like you would for a fun selfie.
- A neutral, calm expression helps create a more professional, standardized photo for your passport.
Wear the Right Clothing
| Tip | What to Do | What to Avoid | Best Clothing Choice | Why It Matters |
| Choose Contrasting Colors | Wear darker clothing to create contrast with the background. | Avoid wearing white or light-colored clothes if the background is light. | Darker clothing, such as navy, black, or dark blue. | Ensures you stand out clearly in the photo. |
| Keep It Simple | Opt for simple, solid-colored clothing. | Don’t wear busy patterns, bright colors, or clothing with logos. | Plain, solid-colored shirts or blouses. | Helps keep the focus on your face, not your clothing. |
| Avoid Headgear | Leave hats, scarves, or accessories off unless necessary for religious or medical reasons. | Avoid wearing anything that could obscure your face. | Neutral clothing that doesn’t cover your head. | Ensures your face is fully visible for identification. |
| No Shadows | If wearing a head covering, ensure it does not cast shadows on your face. | Don’t wear anything that can obstruct the view of your face. | Head coverings (if needed) should be simple and not block the face. | A clear view of your face is crucial for a valid passport photo. |
| Neat and Tidy | Make sure your clothes are neat and well-fitting. | Avoid clothes that are wrinkled or sloppy. | Tidy, well-pressed clothing. | Ensures the photo appears polished and professional. |
Glasses and Accessories – To Wear or Not to Wear?
When it comes to glasses, it’s essential to be cautious, as they can cause problems in passport photos. Although you may wear glasses daily, they can create reflections on the lenses that obscure your eyes, making it difficult to verify your identity. Sometimes, the frames themselves can also distort the facial features, which could lead to the rejection of your photo. Therefore, it’s important to assess whether wearing glasses is necessary for your passport photo.
If you don’t require glasses for daily activities like driving or reading, it’s best to remove them before taking your passport photo. Not wearing glasses eliminates the risk of reflections or distortions, making the photo clearer and ensuring that your face is fully visible. It’s always a good idea to check if there are any visible reflections on the lenses before proceeding with the photo if you decide to keep them on.
However, if you must wear glasses for vision purposes, take extra care. Ensure that there are no reflections on the lenses that could block your eyes. The frames should be thin enough to avoid covering any part of your eyes. A clear view of your eyes is crucial, as the authorities need to see them in full for identification purposes. If possible, opt for anti-reflective lenses, as they help minimize glare.
As for other accessories, such as earrings or necklaces, keep them simple. These accessories should not distract from your face, nor should they cast any shadows that could affect the quality of the image. While a subtle pair of earrings might be fine, large or flashy jewelry could draw attention away from the most important part of the photo — your face.
Avoid Digital Manipulation
- Do not edit your passport photo digitally.
- Avoid adjusting brightness or contrast to enhance the image.
- Do not smooth skin or remove blemishes.
- Your photo must be a true representation of how you look.
- Editing your photo increases the likelihood of rejection.
- Keep the image natural, without any filters or digital alterations.
- The goal is to show yourself as you are in the photo.
Check the Photo’s Resolution and File Size
| Specification | What to Do | What to Avoid | Best Settings | Why It Matters |
| Resolution | Ensure your photo has a high resolution of 300 dpi. | Don’t use low-resolution images. | 300 dpi for sharp, clear details. | Low resolution can cause pixelation, leading to rejection. |
| File Format | Save your photo in JPEG or PNG format. | Avoid using uncommon or unsupported file formats. | JPEG or PNG format. | Unsupported formats may not be accepted by the passport office. |
| File Size | Keep the file size under 240 KB. | Do not exceed 240 KB in file size. | 240 KB or smaller. | Larger file sizes may cause delays in processing. |
| Photo Clarity | Make sure the photo is clear and sharp, with no blurring. | Avoid blurry images that might compromise quality. | High-quality, sharp photo with clear details. | Blurry or unclear photos will not meet application standards. |
Use the Right Camera and Position
When taking your digital passport photo, it’s important to use the right camera and position to get the best results. While modern smartphones come with powerful cameras, you must ensure that the camera is positioned properly. The key is to have your face fill the frame without any distortion. The camera lens should be at eye level, neither too high nor too low, to avoid unflattering angles. A photo taken from a wrong angle can affect the accuracy of your facial features, which could result in the rejection of your application.
If you’re using a smartphone, make sure the camera lens is focused properly. It’s essential that the image is sharp and clear, as even a slight blur can lead to rejection. A blurry image can make it difficult for authorities to verify your identity, which is why ensuring a sharp focus is crucial. This is particularly important for passport photos, where every detail of your face needs to be clearly visible.
Also, avoid any odd angles that could distort the appearance of your face. Keeping the camera lens straight on, at eye level, will create the most accurate representation of your face. Tilting your head or angling the camera in any way can result in an image that doesn’t meet the official passport photo requirements.
Using the right camera and positioning ensures that your photo adheres to the official guidelines. Whether you are using a professional camera or a smartphone, taking care in how you set up the shot can make a big difference in the quality of your digital passport photo.
Take Multiple Shots
- Don’t settle for just the first shot.
- Take several photos to give yourself options.
- Experiment with different lighting to see what works best.
- Try various angles to find the most flattering and accurate one.
- Pay attention to slight variations in expression to ensure a natural look.
- Review each photo to check that lighting is even and no shadows distort your face.
- Make sure your face is clear and visible in every shot.
- Double-check that the background is plain and free of distractions.
- Ensure the photo meets size and resolution requirements after capturing.
- Choose the best shot that fits all the criteria rather than submitting the first one.
- Avoid rushing through the process—taking multiple shots improves the chance of a perfect photo.